
At 7 pm, when the counter is crowded, typing medicine names is the slowest part of billing. It is also where mistakes happen: Dolo 500 instead of Dolo 650, or the wrong strength of the same brand. Barcode billing fixes both problems, but only if the equipment and the software are set up properly.
This guide walks you through setting up pharmacy barcode software at your counter: choosing a scanner and an 80 mm thermal printer, putting barcodes on items that do not have one, and fixing the problems that almost every shop meets in the first week.
Why barcode billing helps a medical store
- Faster billing. A scan takes about a second. Searching and selecting a medicine takes much longer, especially when names are similar.
- Fewer wrong items. The code identifies the exact product, strength and pack, so look-alike names stop being a risk.
- Easier for new staff. A new helper can bill correctly from the first day without memorising hundreds of names.
- Cleaner stock. Every sale is linked to the right product, so your stock count stays closer to what is on the shelf.
What you need
- A USB barcode scanner (plug and play).
- An 80 mm thermal receipt printer with paper rolls.
- A computer or laptop with a browser, if your software is cloud based.
- Optional: a label printer or A4 label sheets, for items that have no barcode.
Choosing a barcode scanner
A standard USB scanner works like a keyboard: it "types" the digits and presses Enter. That is why it works with almost any software and needs no driver. A few things to check before you buy:
- Pick an imager (camera type) scanner if you can. It reads damaged, curved and small codes on strips better than a basic laser scanner.
- It should read EAN-13, the code printed on most Indian medicine packs.
- A wired USB scanner is the most trouble free. If you choose a wireless one, keep it charged and keep the receiver plugged in.
Choosing an 80 mm thermal printer
- Thermal printers need no ink or ribbon, only paper rolls, which keeps running cost low.
- Look for a USB connection and an auto cutter, so each bill comes out clean at the counter.
- Keep one spare roll at the counter, because rolls always run out at the busiest time.
Step-by-step counter setup
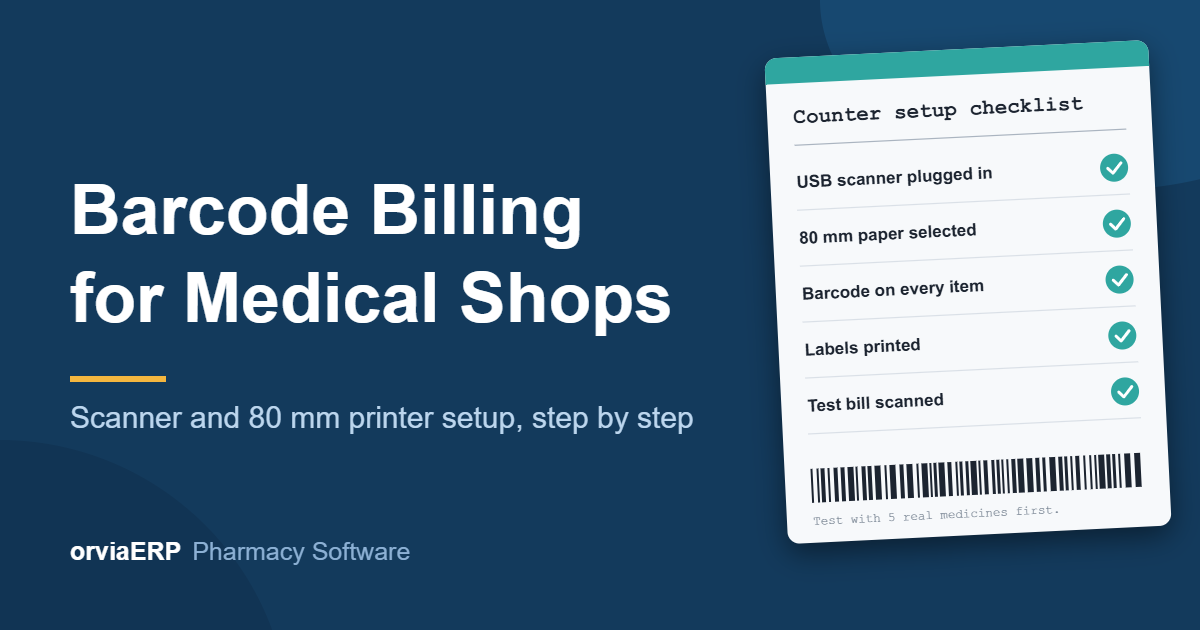
- Plug in the scanner and test it in Notepad. Scan any product. The digits should appear and the cursor should move to the next line. If it does not, the scanner is not sending Enter; see the list of common problems below.
- Install the printer driver from the maker's website or CD, and connect the printer by USB.
- Set the paper size to 80 mm. In the printer settings choose the roll paper option and set margins to none.
- Set your browser print dialog correctly: margins None, headers and footers off, scale 100%. Make this printer the default so a bill prints in one click.
- Choose the 80 mm receipt layout in your pharmacy software and print a test bill. Nothing should be cut off at the sides. The printable width is a little less than 80 mm, about 72 mm.
- Add barcodes to your products (see the next section).
- Scan five real medicines and check that each one opens the right product.
- Train your staff: scan instead of typing, and ask the manager when a code is not found.
Barcodes on medicines: what to expect
This is the part many shops do not expect. Not every pack has a barcode you can use:
- Most branded medicines in boxes carry the maker's barcode on the outer carton.
- A strip cut out of a box usually has no barcode of its own.
- Products from small makers, ayurvedic items and loose goods may have none.
So plan for two situations:
- The product has a barcode, but your software does not know it yet. Scan it, search the medicine by name once, and save the barcode against that product. From the next scan onwards it is added automatically. Good software remembers this for your shop.
- The product has no barcode. Create your own barcode for it, print a label and stick it on the pack or the shelf.
One important point: a barcode identifies the product, not the batch. When you scan a medicine you still need the software to pick the batch with the earliest expiry first. That is the FEFO method, and it protects you from selling near-expiry stock while a fresher batch waits.
Printing your own barcode labels
- Common label sizes are a 50 x 25 mm roll, or an A4 sheet with three labels across.
- Print the medicine name, the barcode and the MRP. Many shops also print the rack number.
- Use the in-store barcode range. Codes that begin with 2 are reserved for in-store use, so they cannot clash with a manufacturer's code.
- Never give the same barcode to two products. One code must mean one product.
- Stick the label on the edge of the strip or the carton, never over the batch number and expiry date.
Common problems and how to fix them
- Scanner beeps, nothing appears | Likely cause: The cursor is not in the billing box. Fix: Click the search or scan box and scan again.
- Digits appear but the item is not added | Likely cause: Scanner is not sending Enter. Fix: Set the "Enter" suffix by scanning the setting code in the scanner manual.
- Wrong characters or letters | Likely cause: Caps Lock on or wrong keyboard language. Fix: Switch to the English keyboard layout.
- "Barcode not found" for a branded item | Likely cause: The code is not saved for your shop yet. Fix: Search the medicine once and save the barcode.
- One scan opens the wrong medicine | Likely cause: The same code was given to two products. Fix: Find the duplicate and correct one of them.
- Bill prints cut off or very small | Likely cause: Wrong paper size or scaling. Fix: Choose 80 mm roll paper, scale 100%, margins none.
- Printer feeds a long blank paper | Likely cause: Paper height set to a full page. Fix: Use the roll or continuous paper option.
A simple daily routine
- Print one test bill when you open the shop.
- Wipe the scanner window with a soft cloth once a week.
- Keep a spare paper roll and a spare USB cable.
- Keep a manual way to bill, such as typing the name, for the rare item with a damaged code.
How Orvia helps
Orvia's pharmacy software works with standard USB barcode scanners and prints bills on 80 mm thermal printers, or on A4. When a scanned code is not known, the cashier searches the medicine once and Orvia remembers the barcode for your shop from then on. For products with no barcode, you can create your own barcode inside Orvia and print labels on a 50 x 25 mm roll or an A4 sheet. Batches are picked earliest expiry first, so scanning stays fast without selling old stock last. Barcode billing is included in the plans that have it, so check the plan on the pricing page.
Final thoughts
Barcode billing is one of the quickest upgrades for a busy medical store. The equipment is inexpensive, the setup takes an afternoon, and the first week is mostly about teaching the software your own products. Start with your fastest-selling 50 medicines, test with real bills, and add the rest as you go.
Want to try it at your own counter? Visit the Orvia pharmacy software page or start your free trial at pharmacy.orviaerp.com. Questions? WhatsApp us on +91 7007761116.